Get GIMP- download it onto your computer, then follow the instructions for installing it.
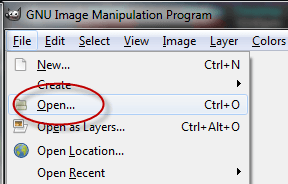
To begin, the first thing you do is run GIMP, then open the picture you want to work with:
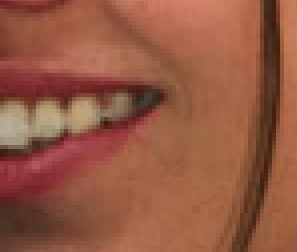
Here’s the sample pic we’re going to use:

Photo courtesy of PublicDomainPictures.net
First, zoom in so you can really see what you’re working with:

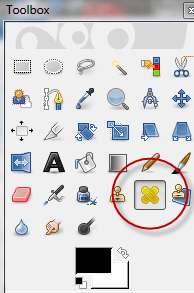
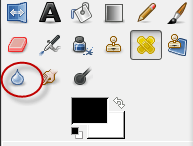
Then, move over to the Toolbox and click the Heal tool…
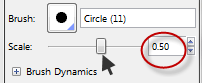
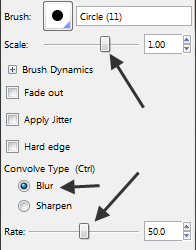
… then move lower and adjust the scale by moving the slider. This makes the heal tool circle bigger or smaller. Adjust it so that the circle size is about the same size as the blemishes you’re trying to fix.
… then click on a good spot very close to the major blemish you wish to fix, then do a Ctrl-Click to let GIMP know you’ve picked your good spot to serve as a reference:
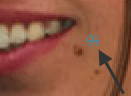
Gimp responds by creating a circle with a cross in it to show it’s heard you. Then, all you have to do is move around the photo clicking on zits or other blemishes. In some case, it might work best to just click a bunch of times on and around the area to get it all cleared up, like this:
Note: Zoom in and out as you see fit to help you visualize the the blemishes you’re trying to repair.
Then, once you’re satisfied that you’ve zapped most of those blemishes off your picture…

…you can clean things up even more by using the Blur tool. To do this, choose it by clicking the icon for the Blur tool, on the tools pane:
…then choose your brush size, by using the slider next to where it says Scale, the rate of change (amount of blurring) by using the slider next to where it says Rate, and then finally by making sure you have the bullet marked next to Blur, and not Sharpen:
After that use the Blur tool to paint over areas of the skin that look like they could benefit from some smoothing;
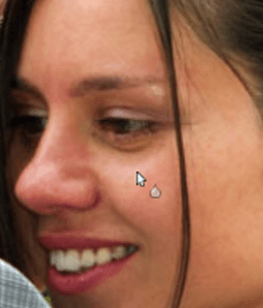
…just hold down your mouse button while you drag the tool over the skin, following the contours as you go. Also, be careful crossing between light and dark areas, or when you’re working in a place that has lots of changes going on at the same time. The idea is to create a smooth, blemish free surface.
Here is the finished result:

Make sure you save your results when you are done...and save yourself alot of $$$ on software....

No comments:
Post a Comment